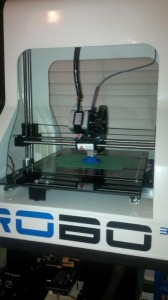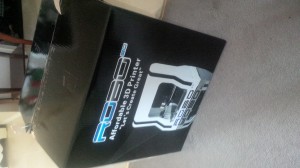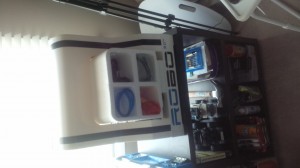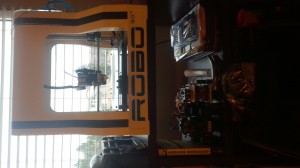
I received my Robo3D printer today (and with that, a big thank you to BlackBerry and all the BlackBerry fans! This was made possible by you!).
I did have a few small challenges when putting the printer together, some items that the video really didn’t show. But I will walk through those with you including installing that rear Y bracket.
Where to get it?
Why from http://www.robo3dprinter.com/collections/3d-printers for 599 / 699 (PLA, PLA&ABS respectively).
Support Speed
- I only contact support once, received a response within 24 hours.
Order to Arrival Time
- Order standby took 6 weeks and 2 days
- Shipping took about 4 business days
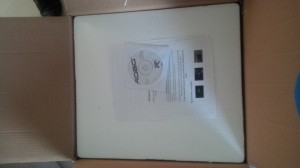
Unboxing
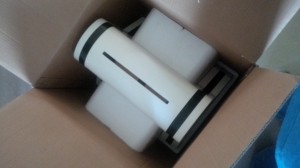
First off I just want to say, wow that was a lot of boxing – and you know what, I’m thankful.
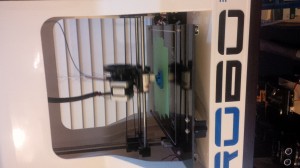
Sorry for the sideways photos, I’ll most likely rotate them later.
Unboxing was pretty straight forward, but you may want a second person to help out. There are some tricky points (such as pulling the printer out of the box) as well as ensuring you don’t drop everything all over the place.
Everything was in the box EXCEPT for the plastic case for the screwdriver (but who needs that anyway, you do have a toolkit don’t you?).
Challenges
I encountered three challenges. Two are easy to fix, one not-so-much!
The Rear Y Bracket Connector
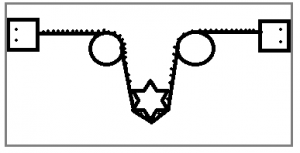
In my case, I ordered the ABS / PLA unit with heated bed. This has a special glass bed, which tended to break for other users. So they started shipping it with the bracket disconnected. For me, it was no big deal. But I can just tell this is a confusing step waiting to happen.
The above shows you a high level view of how that rubber belt is supposed to run. So, if you follow the instructions you are given, and just tighten those two bolts – you will be SOL.
If you are having a hard time getting this to work, take off the bolts from all four screw holes for the two connectors. Snake the rubber belt through as shown (you want the spikey side to touch the spikey gear) and attach the ends. I actually didn’t tighten it with anything more than my fingers (being that it is glass and all).
A Fan was Hanging on the Bottom from Home Printed Plastic Frame
OK – this isn’t so bad if you know what it is. This little frame connects to both sides of the Arduino loosely. Chances are, if you dont connect it, it won’t really hurt anything. But you can find more information on this fan here if you need it. I just snapped it onto the white arduino frame. Although, looking at that photo now, I didn’t connect it right – LOL.
Printing is Messy as Sin
Thanks to this post #9, I got my head wrapped around the issue.
When I first tried printing, well I rushed a lot. And I would say a good run of the test plastic ended up a goopy mess. It either stuck to the printer heat, or slid around and made an interesting mess. I tried both painters tape and hair spray. I find that hair spray works better, but painters tape is more reusable.
The mess happens most likely because you did what I did… you watched the video. You did the calibration tool, and you wondered why everything printed a mess.
The problem is the unit still needs to really be fine tuned!
Inside of Matter Controls, press the Z button to “center align” the print head. First, move it using X and Y to the center of the glass.
Use the big screw looking bars on the left and right with your finger tips (adjust both the same amount) until it is touching the printer head. Back it off just a tiny bit, the head needs to “push” the plastic against the glass, not lay it on top.
Use the X control to move all the way to the left, repeat the process but only use the left screw. Use the X control to move all the way to the right, repeat the process.
Now bring it forward and back using the Y control. If you find the glass is off center, you will see a big screw beside one of the really big screws. It is hard to turn with a screw driver (the one they sent wont help) but adjust this a little bit to level the glass.
Move the head around to get everything right. I still had to back off and tighten the screws in the 4 corners of the glass to get it perfect.
Once complete, repeat that calibration! Now your printer head should always be well tuned.
Public service announcement: If the tip is too far from the glass OR the tip is too hot, your plastic becomes a hot sticky mess. Also, I found keeping the print head relatively clean helped a lot.
Recommended Upgrades
Print and install these Z brackets. (Note, you get enough filament just to print 1 and a half of these)
Print and install this PLA holder (both were mentioned by Barnacules below).
Difference Between PLA and ABS
Essentially, the difference between PLA and ABS, as I understand it, is that PLA heats up at a lower temperature. This plastic is a bit more bendy, but it melts a little in really warm sun. ABS requires higher temperatures and typically relies on heated beds. It is more durable but more brittle.
Recommended Reading Materials
Avoid a sticky mess by understanding how it happens…
Software You Need
If you want to just print other peoples items from Thingiverse, it requires very little software – just the package from the Robo3d Website. Although if you are on Windows 8 or 8.1, you need to restart in Advanced mode, and disable signed drivers. Then install the latest Arduino software from http://www.arduino.cc. You can do this by going Windows+C > Settings > PC Settings > Update and Recovery > Recovery > Advanced Startup and reboot. You will see an option in Startup settings to disable driver enforcement, this will let the Arduino drivers install. Remove the USB cable with this option disabled, Boot into Windows, ensure the Arduino software is installed, and voila- when you connect the USB cable the Arduino Mega will be discovered,
If you want to create your own master pieces, I recommend SketchUp plus the SketchUp Add-on.
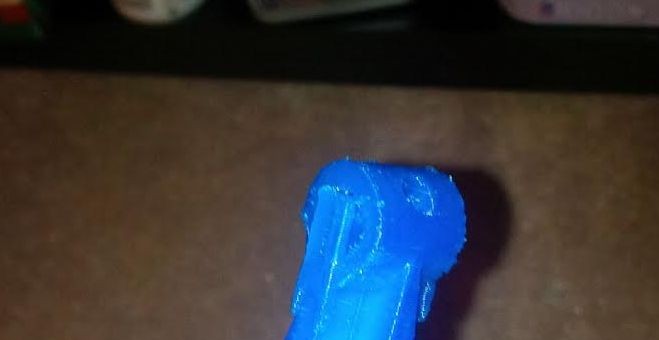
My First Print with the Robo3D Printer
And after all that …
A Z axis stabilizer. Sweet!
